톰켓 작업 전 무뎌진 감각을 끌어올리고자 시도한 두번째 작업입니다.
그냥 손에 잡히는 데로 작업해봤습니다.
지금은 아예 구할 수 없는 에이스 과학 제품이라 아쉽습니다.

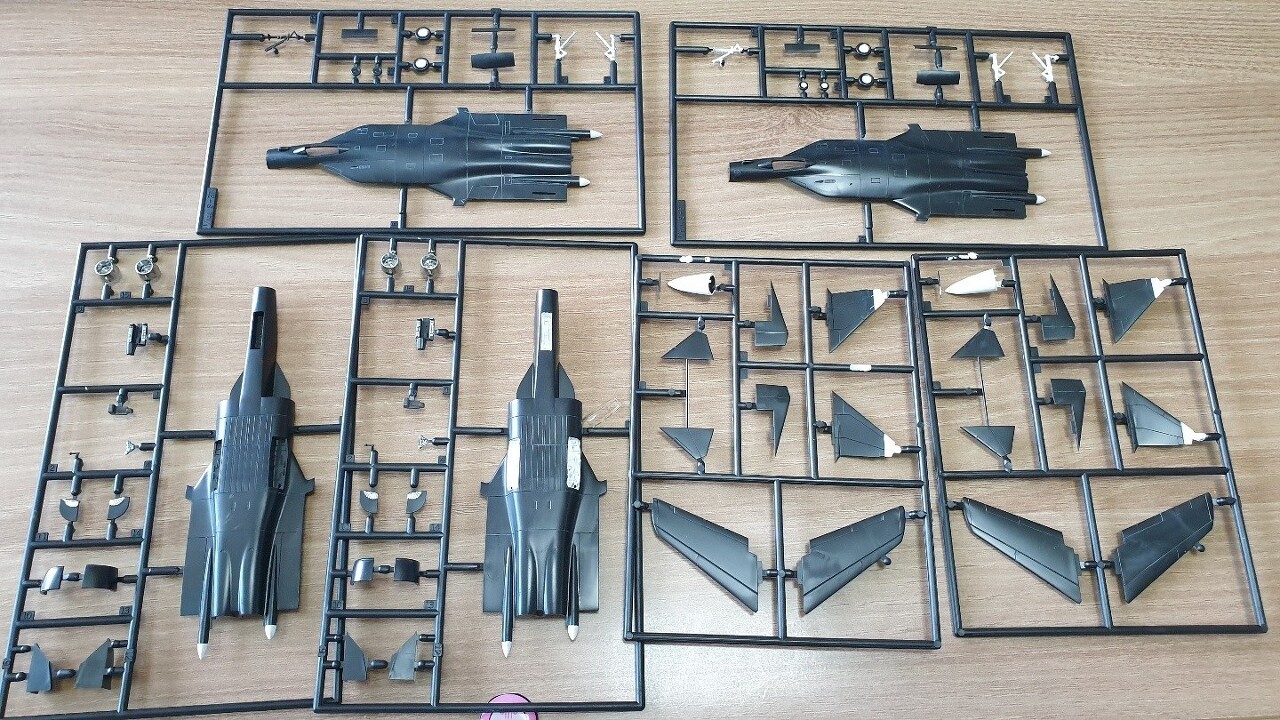
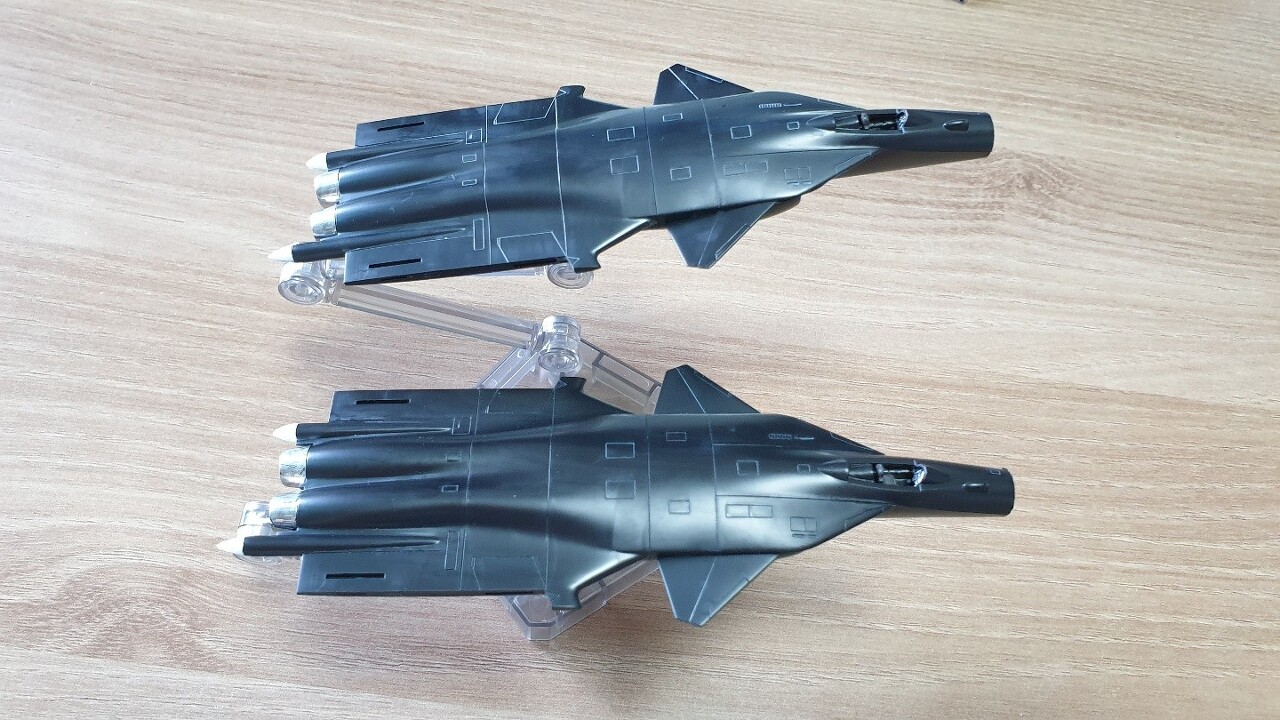
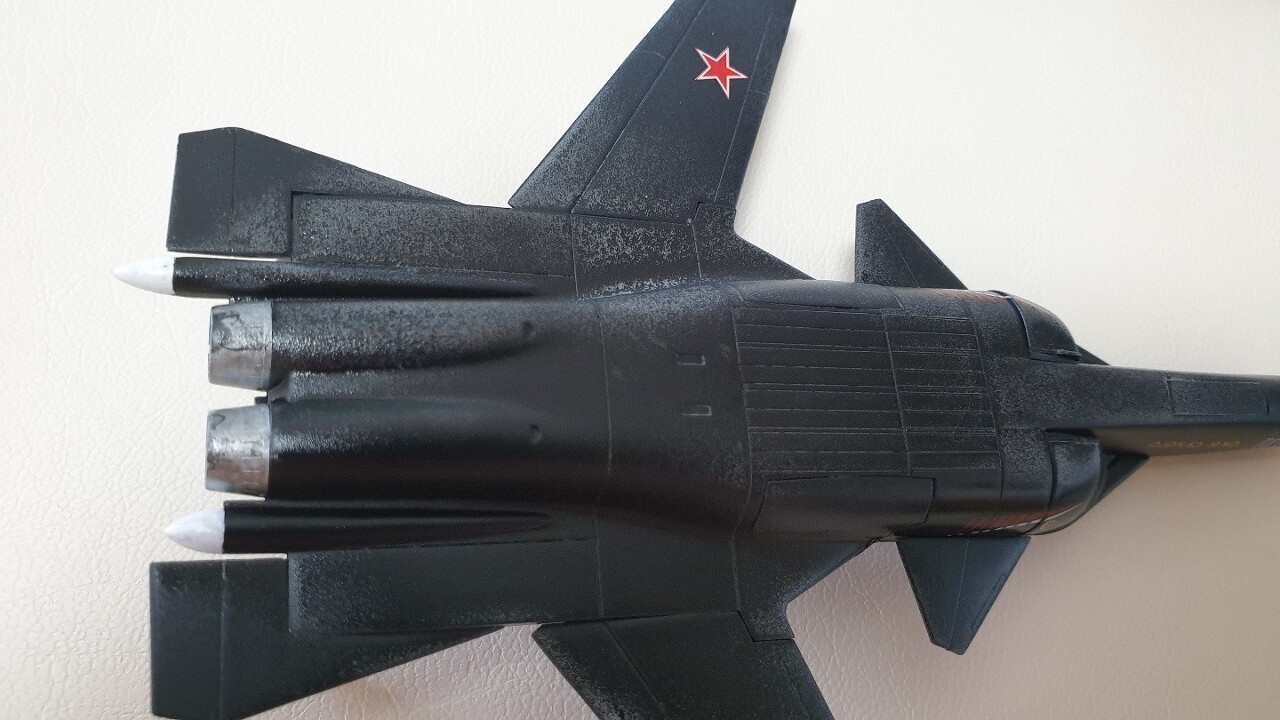
아주 멋지고 독특한 V라인의 기체입니다.
네~ 박스 뒷면엔 아무것도 없습니다.
세월의 흔적이 가득한 설명서........
런너 3개ㅡ 전사지 1장의 구성입니다.
미리 타미야 회색 패널라인 액센트로 먹선을 넣어주었습니다.
셋트병 환자라서 이번에도 2대 동시 작업입니다. 기체 하부에 대충 자석부터 심어줍니다.
아크릴 흰색 물감으로 부분도색을 먼저 해주었습니다.
검정색 바탕이라 보기엔 사진 한장이지만 3일에 걸쳐서 3번 도색해주었습니다.
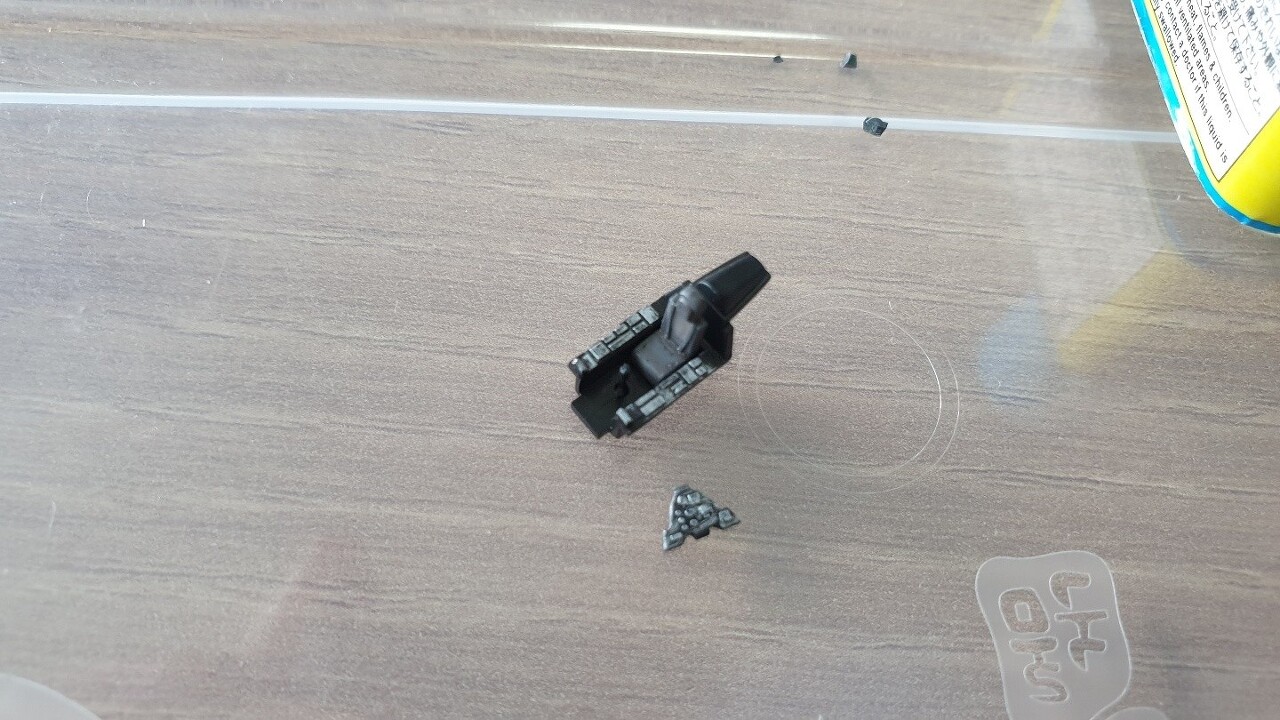
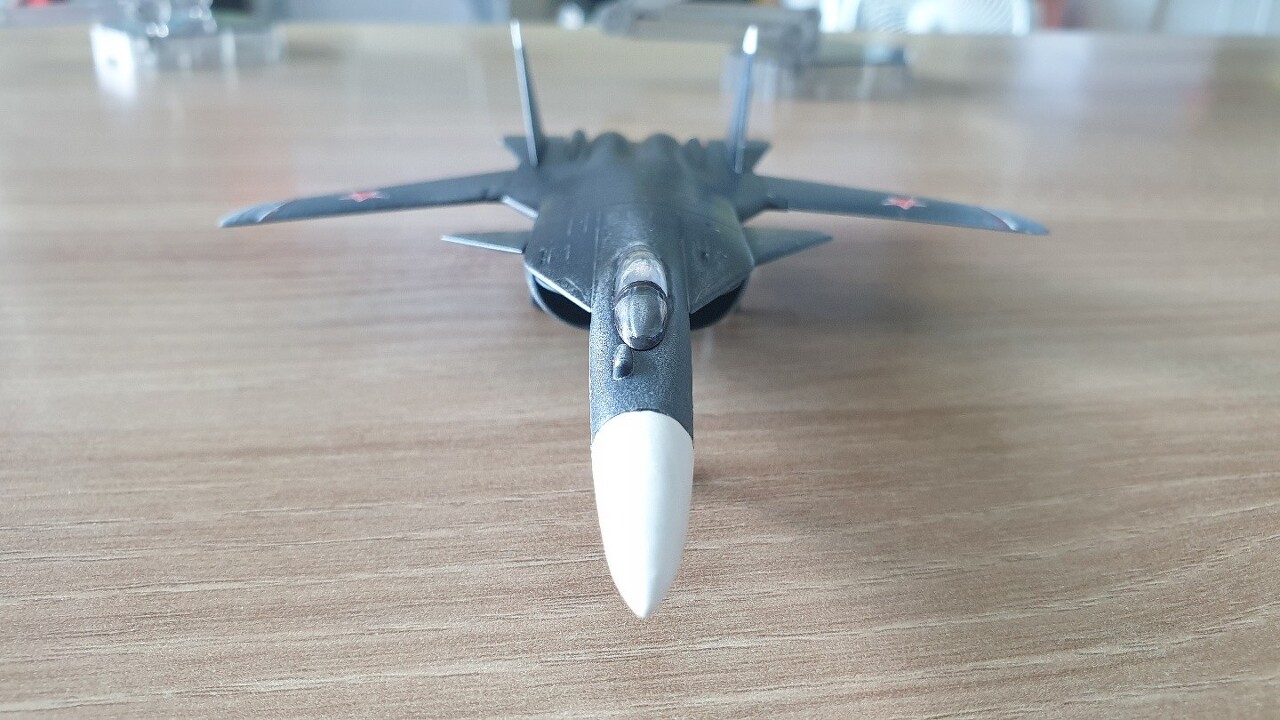
제일 어려웠던 부분은 기수부분입니다.
정말 신경써주었지만 붓자국이 많이 남았습니다.
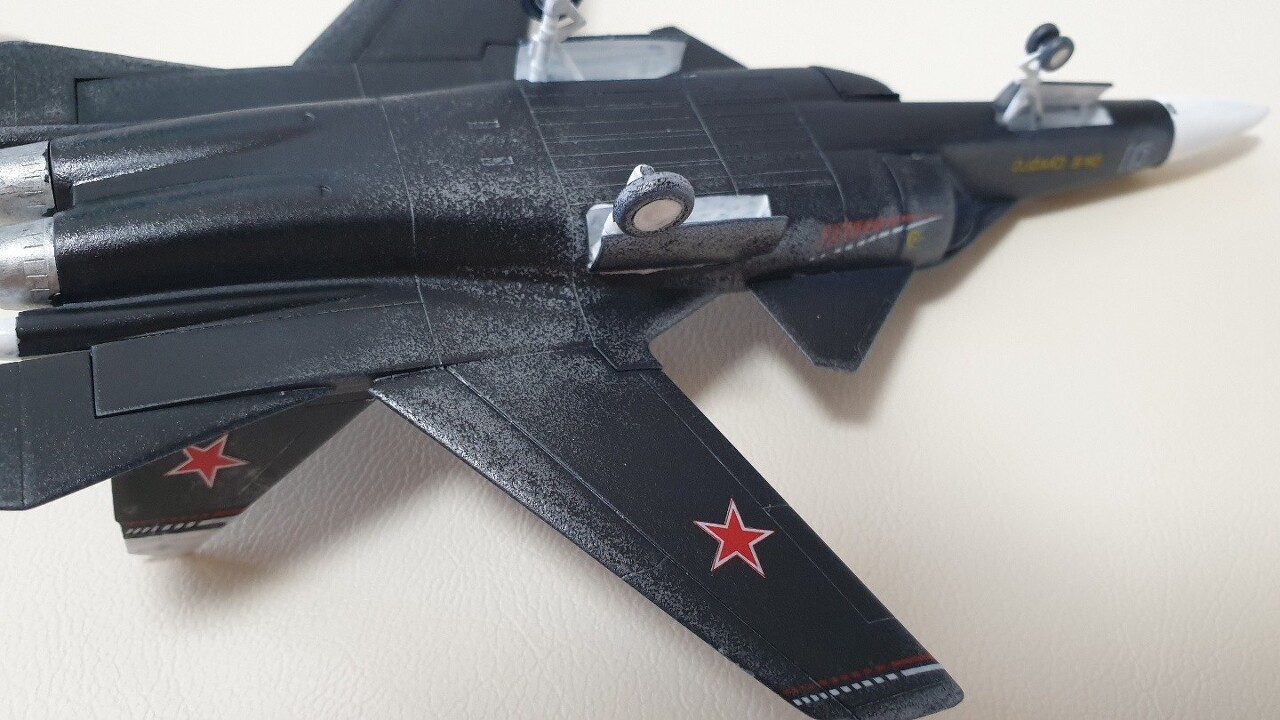
데깔 붙이다가 빡쳐서 다 뜯어네고 은색 모나미 마카팬으로 대충~

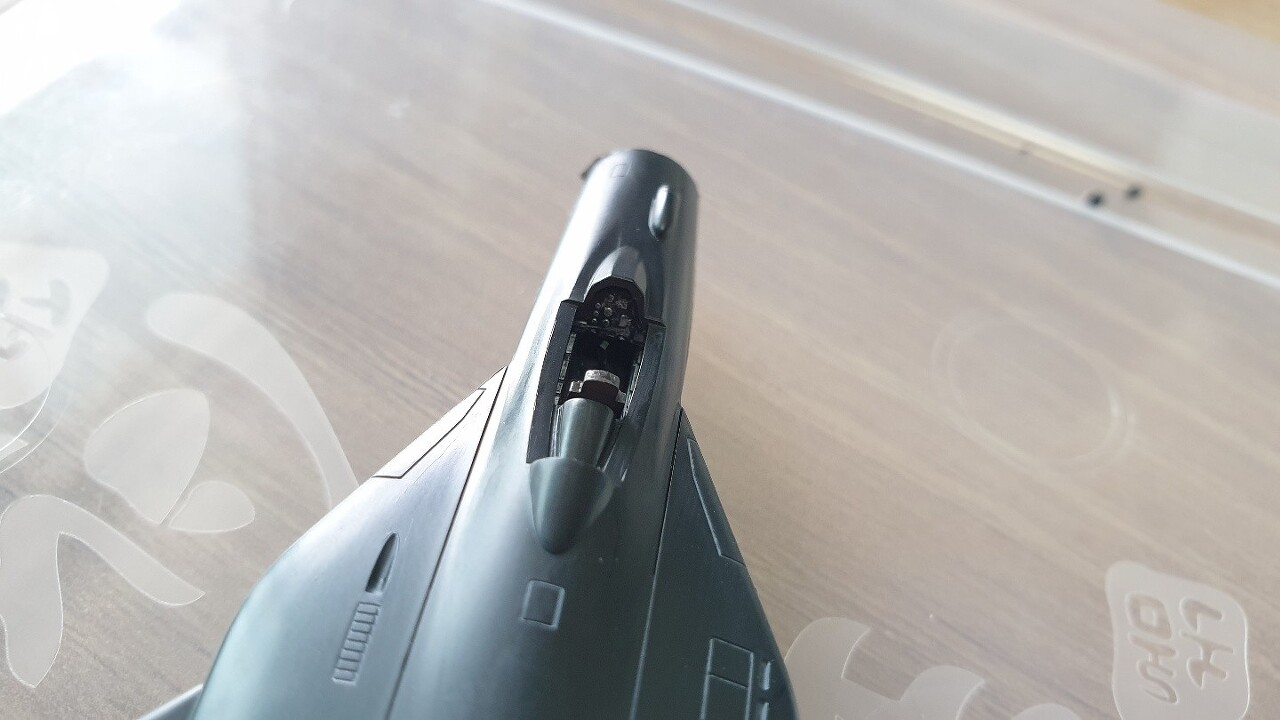
신경써 주었건만 조립해보니 1인승이라 그런지 잘 보이지도 않네요
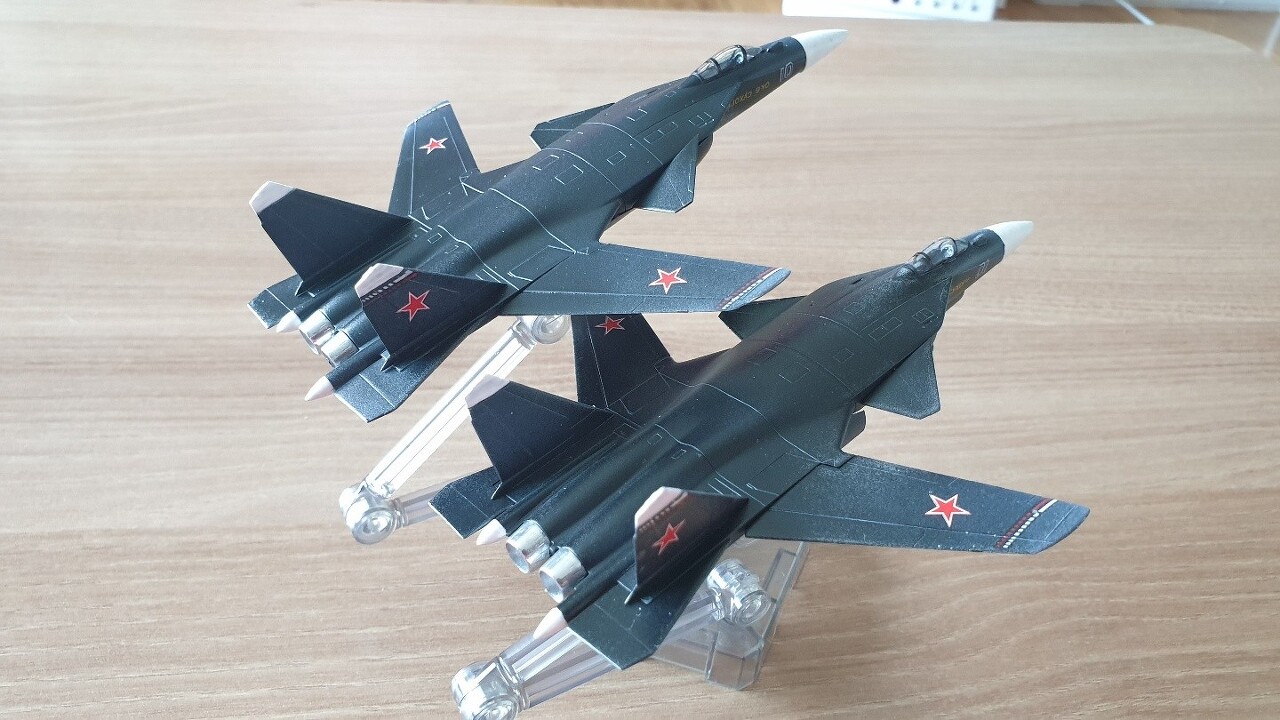
다시 소환한 디넷 발명가 하씨님의 무스쿠토 스텐드에 기체를 올려놔봅니다.
덩치가 작아서 그럭저럭 고정됩니다.
생각해보니 여기서부터 삽질이 시작됩니다....
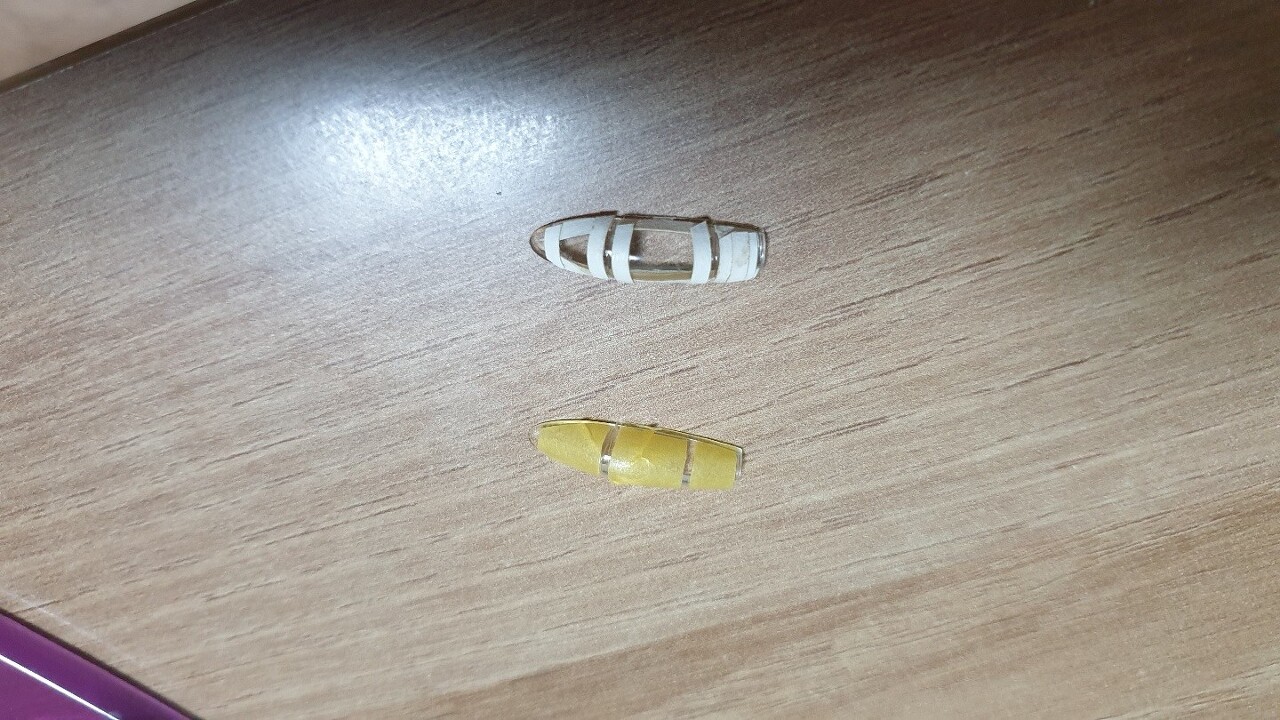
아~~~~주 오래된 미술용 라인테이프와 마스킹 테이프를 이용해서 케노피의 라인을 그어주기로 합니다.
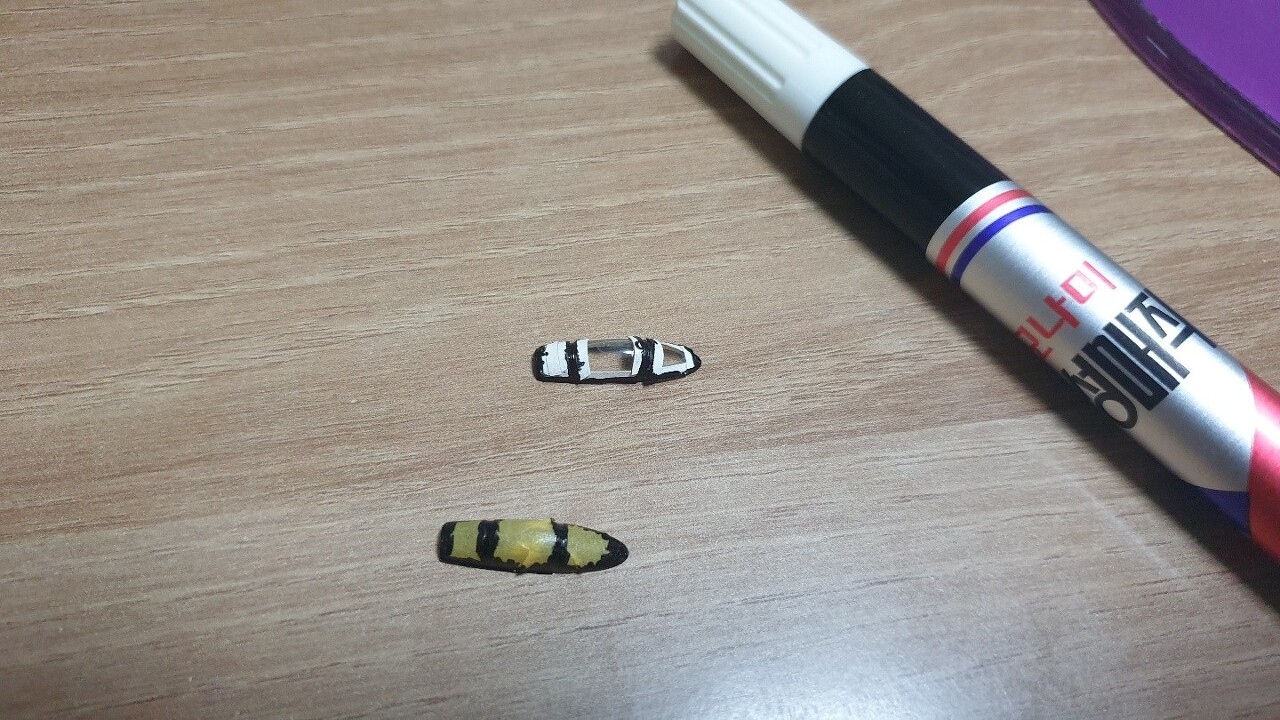
일부러 한개는 먹선팬, 한개는 유성매직으로 그어봤습니다.
미술용 라인테이프가 붙이는 작업은 쉬웠지만 결과물은 별로이고,
마스킹 테이프는 붙이는 작업은 어려웠지만 결과물은 좋습니다.

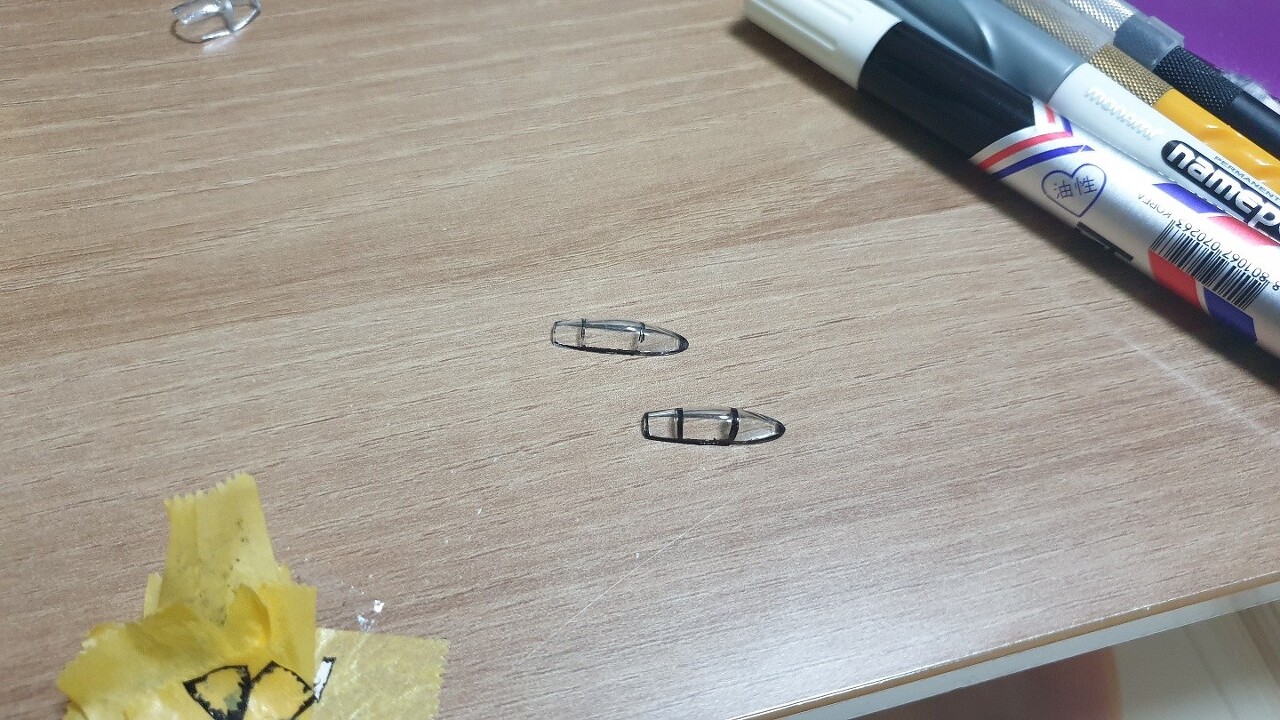
삐져나온 부분은 라이터 기름으로 지워주고, 부족한 부분은 먹선팬으로 대충 그었습니다.
삐뚤삐뚤.....
스케일 감안해서 그냥 넘어갑니다. ㅎ
너무 오랫만에 무광슈퍼클리어 마감제를 뿌려서 그런지..... 날씨가 워낙 습해서 그런지.... 암튼 망했습니다.
조금이라도 살려보고자 유광슈퍼클리어로 덧입히고 말려주었습니다.
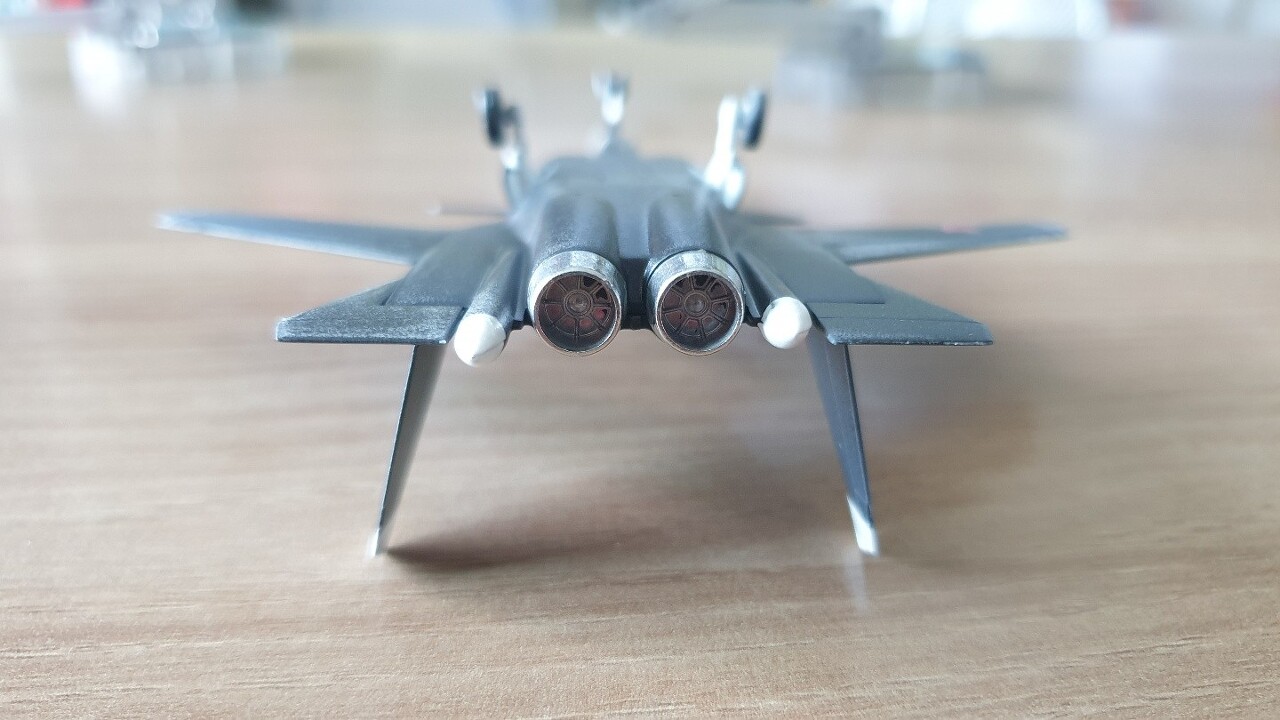
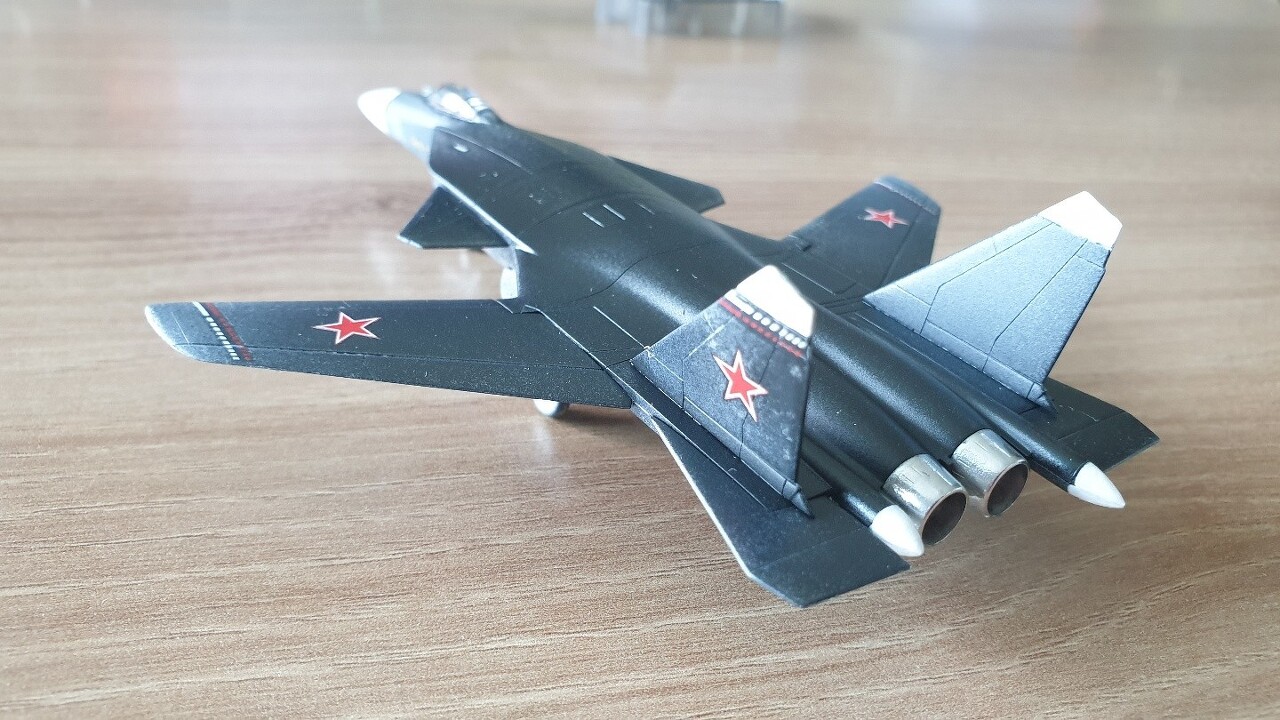
완전히 회색으로 색깔이 죽어버린 노즐은 다시 건담마커 은색으로 칠해주었습니다.
무한 삽질의 결과, 그나마 기체의 윗부분은 그래도 봐줄만 해졌습니다.
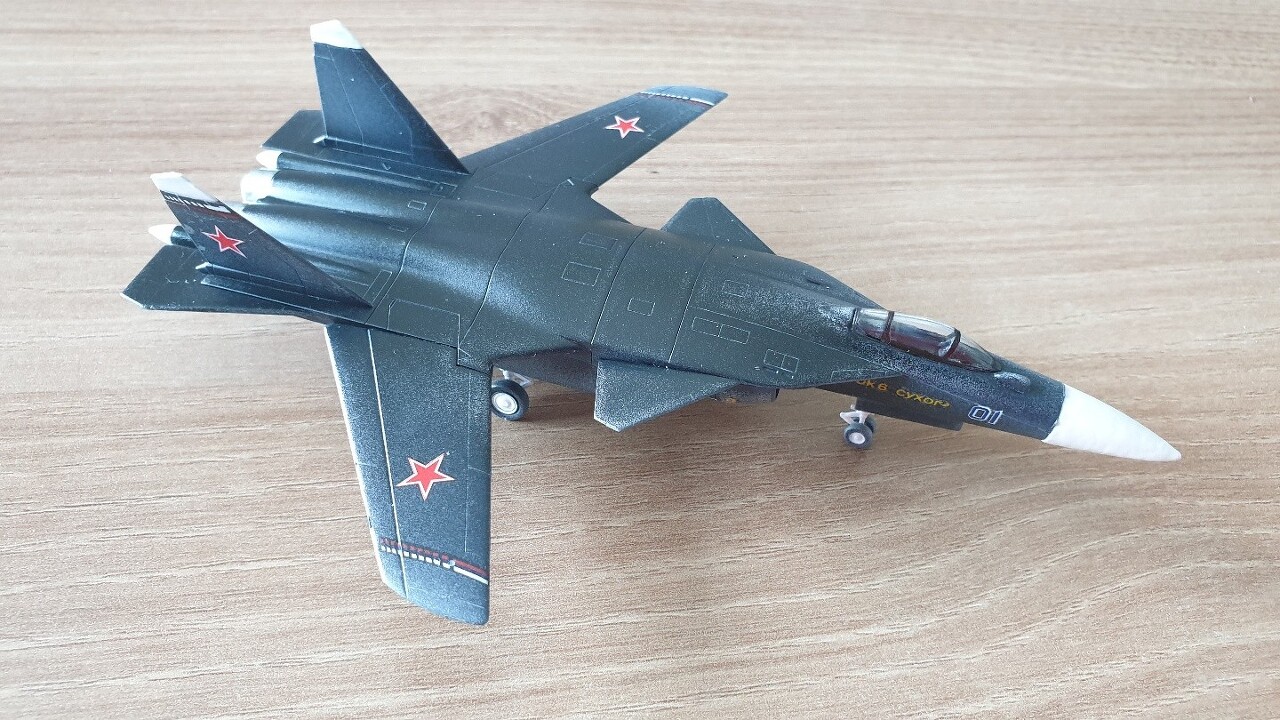
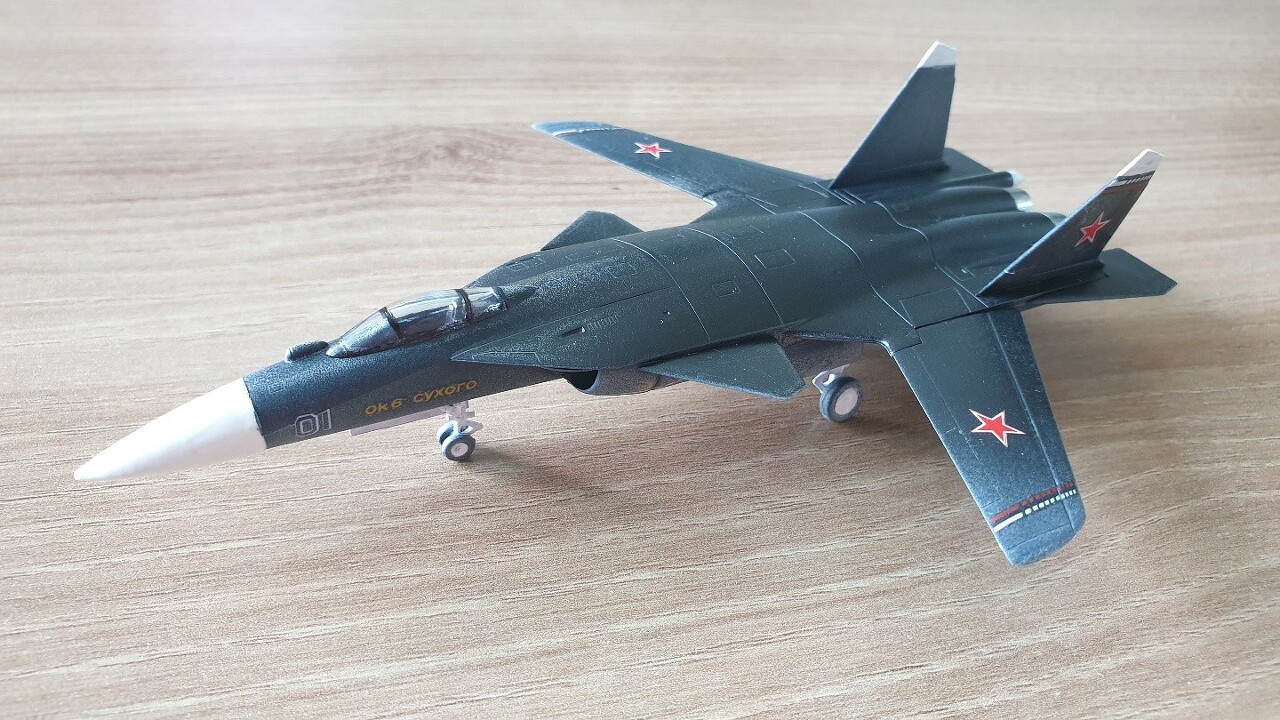

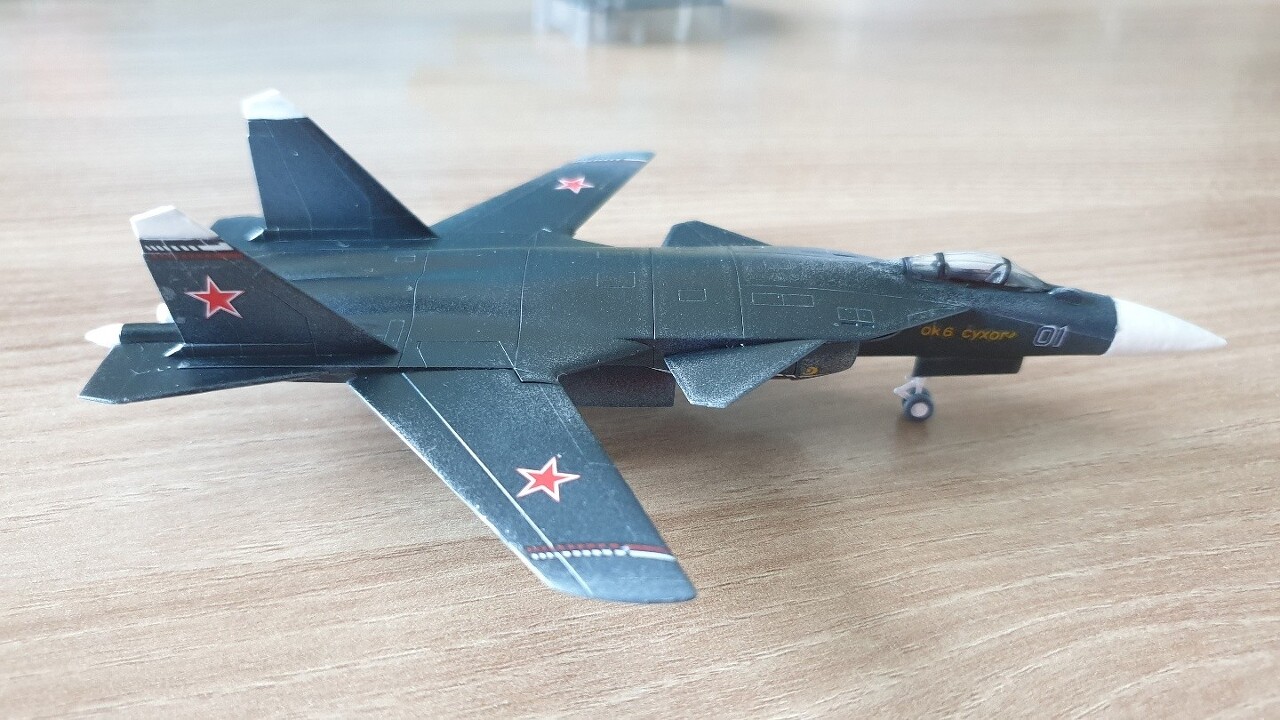
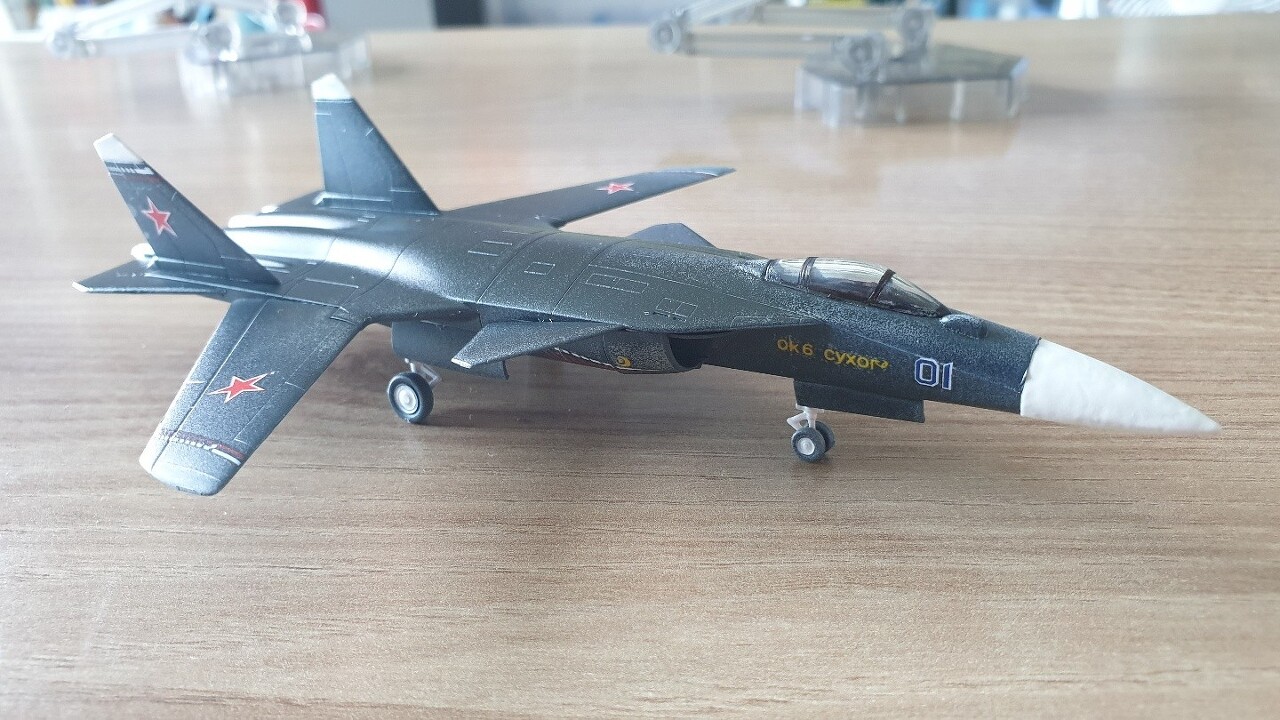
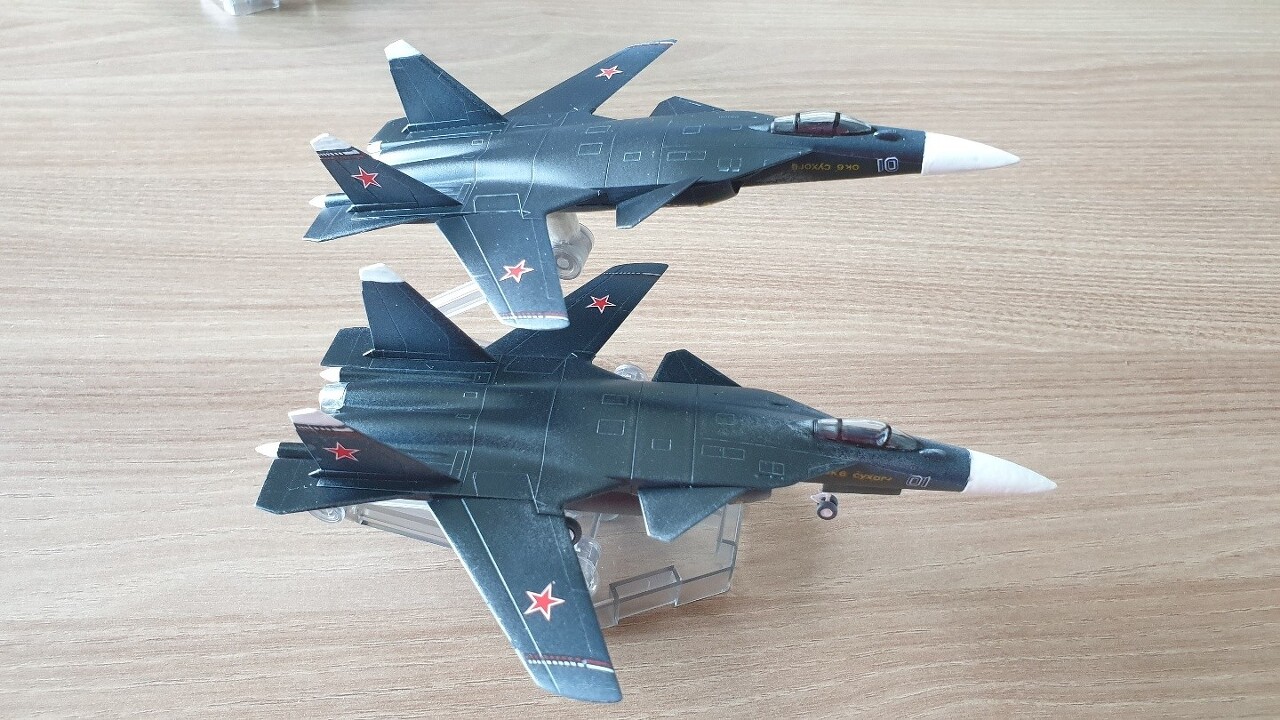
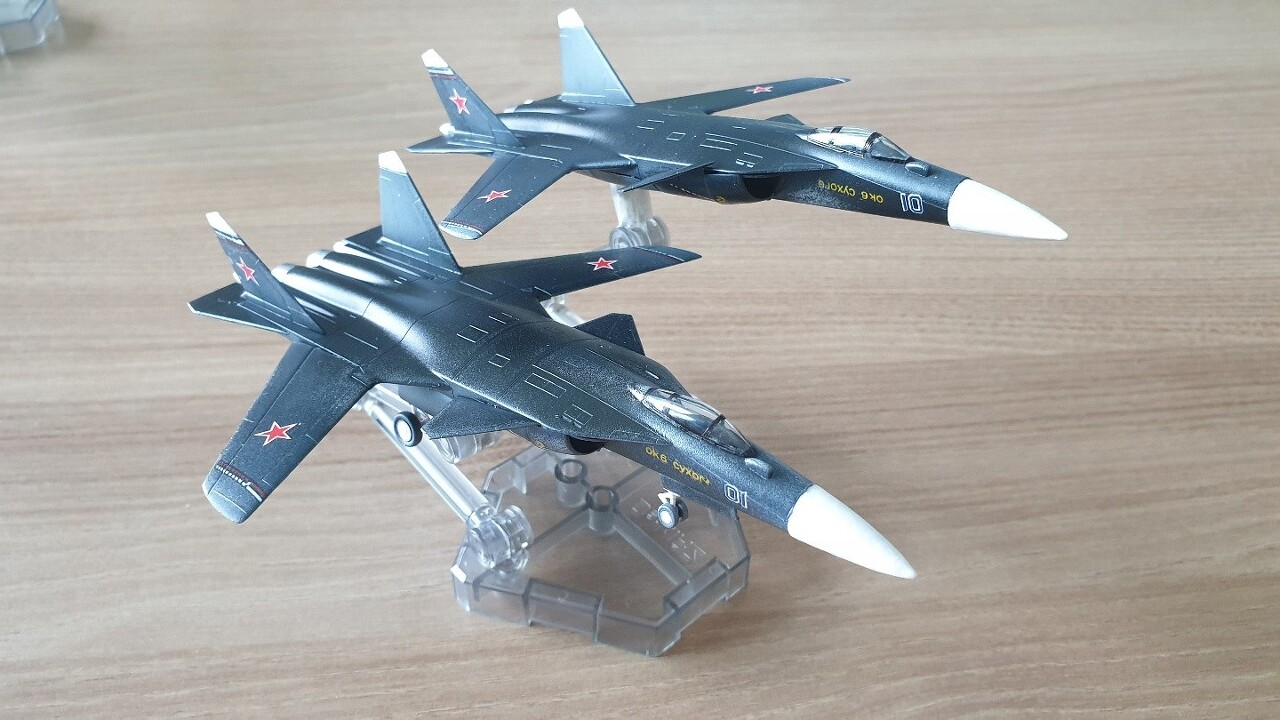
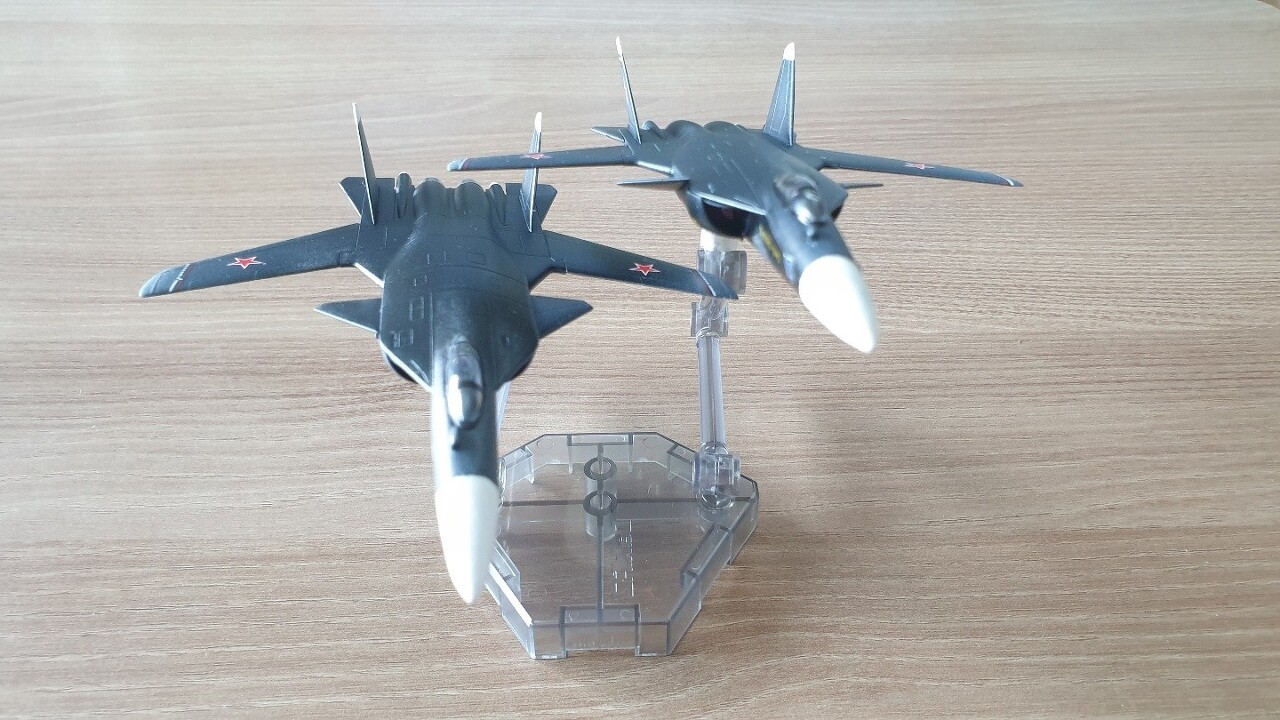

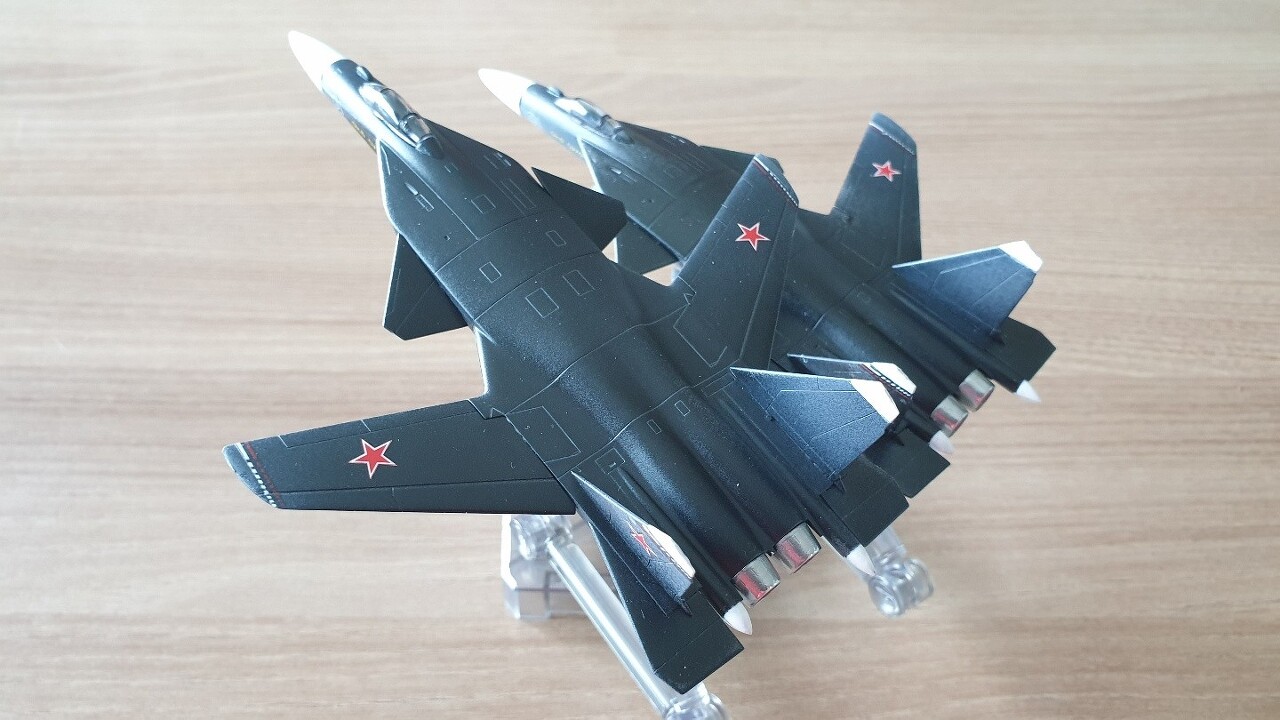

둥글둥글하면서도 특유의 역날개 V 디자인으로 날렵해 보이는 이상한 매력이 있습니다.
먼저 작업해 보았던 X-35B와 비교해봅니다.
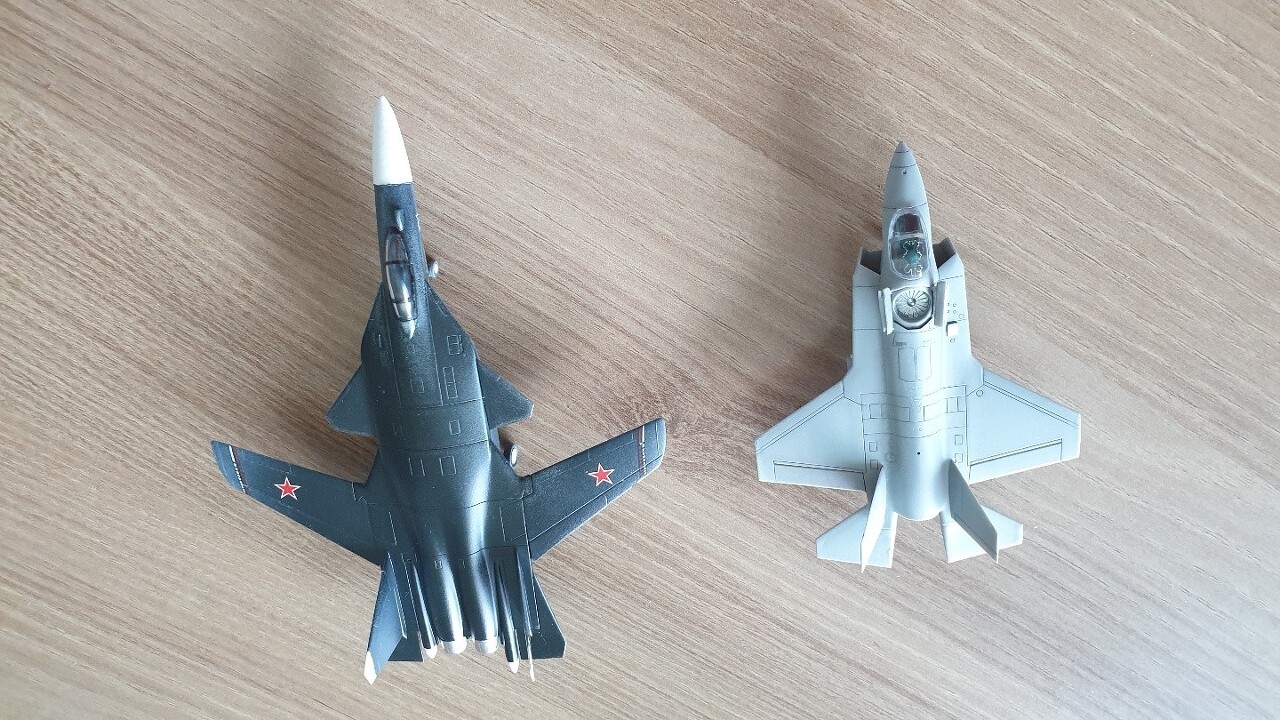

똑같은 1인승 기체인데도 크기차이가 상당합니다.

이로써 연습은 끝, 이제부턴 F-14를 시작합니다.
1/144, 1/100, 1/72까지의 3가지 크기로 도전!